-
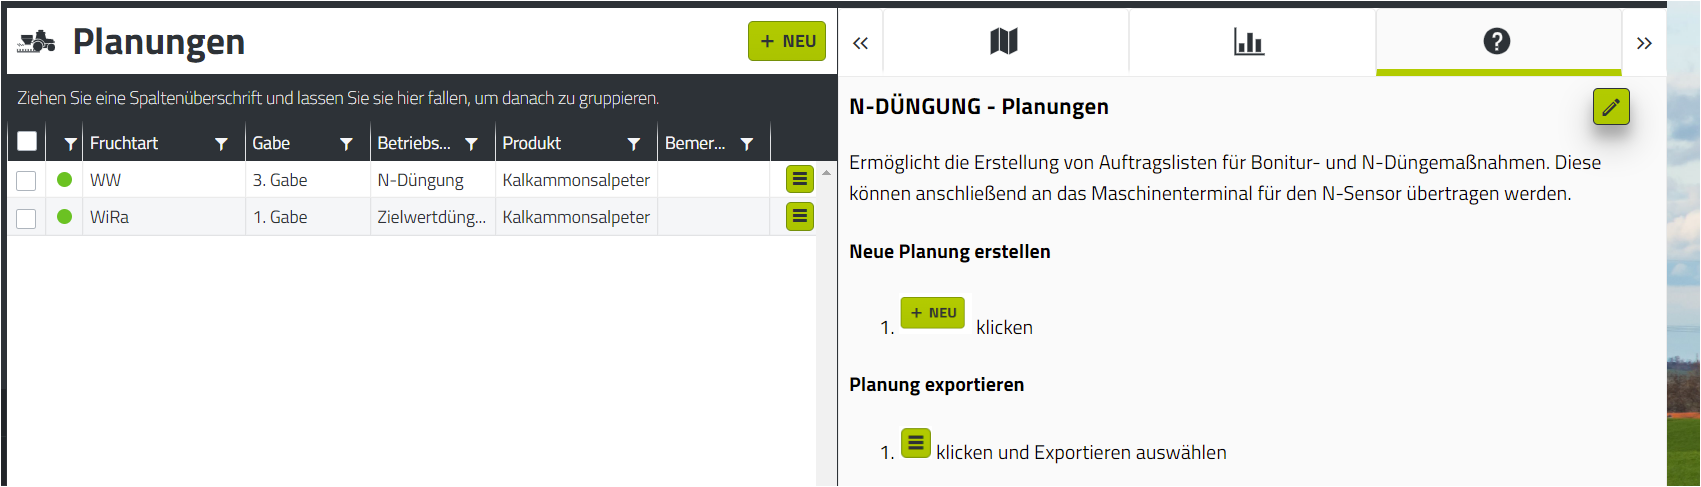
Erstellen Sie in agriPORT unter "N-Düngung/Planungen" eine Liste mit den gewünschten Schlägen. Füllen Sie die Daten der Agronomischen Kalibrierung nach Bedarf aus.
-
Exportieren Sie die Liste per email oder USB-Stick.
Eine Anleitung zur Erstellung von Planungen sowie dem Export finden Sie in der Hilfefunktion direkt in agriPORT.
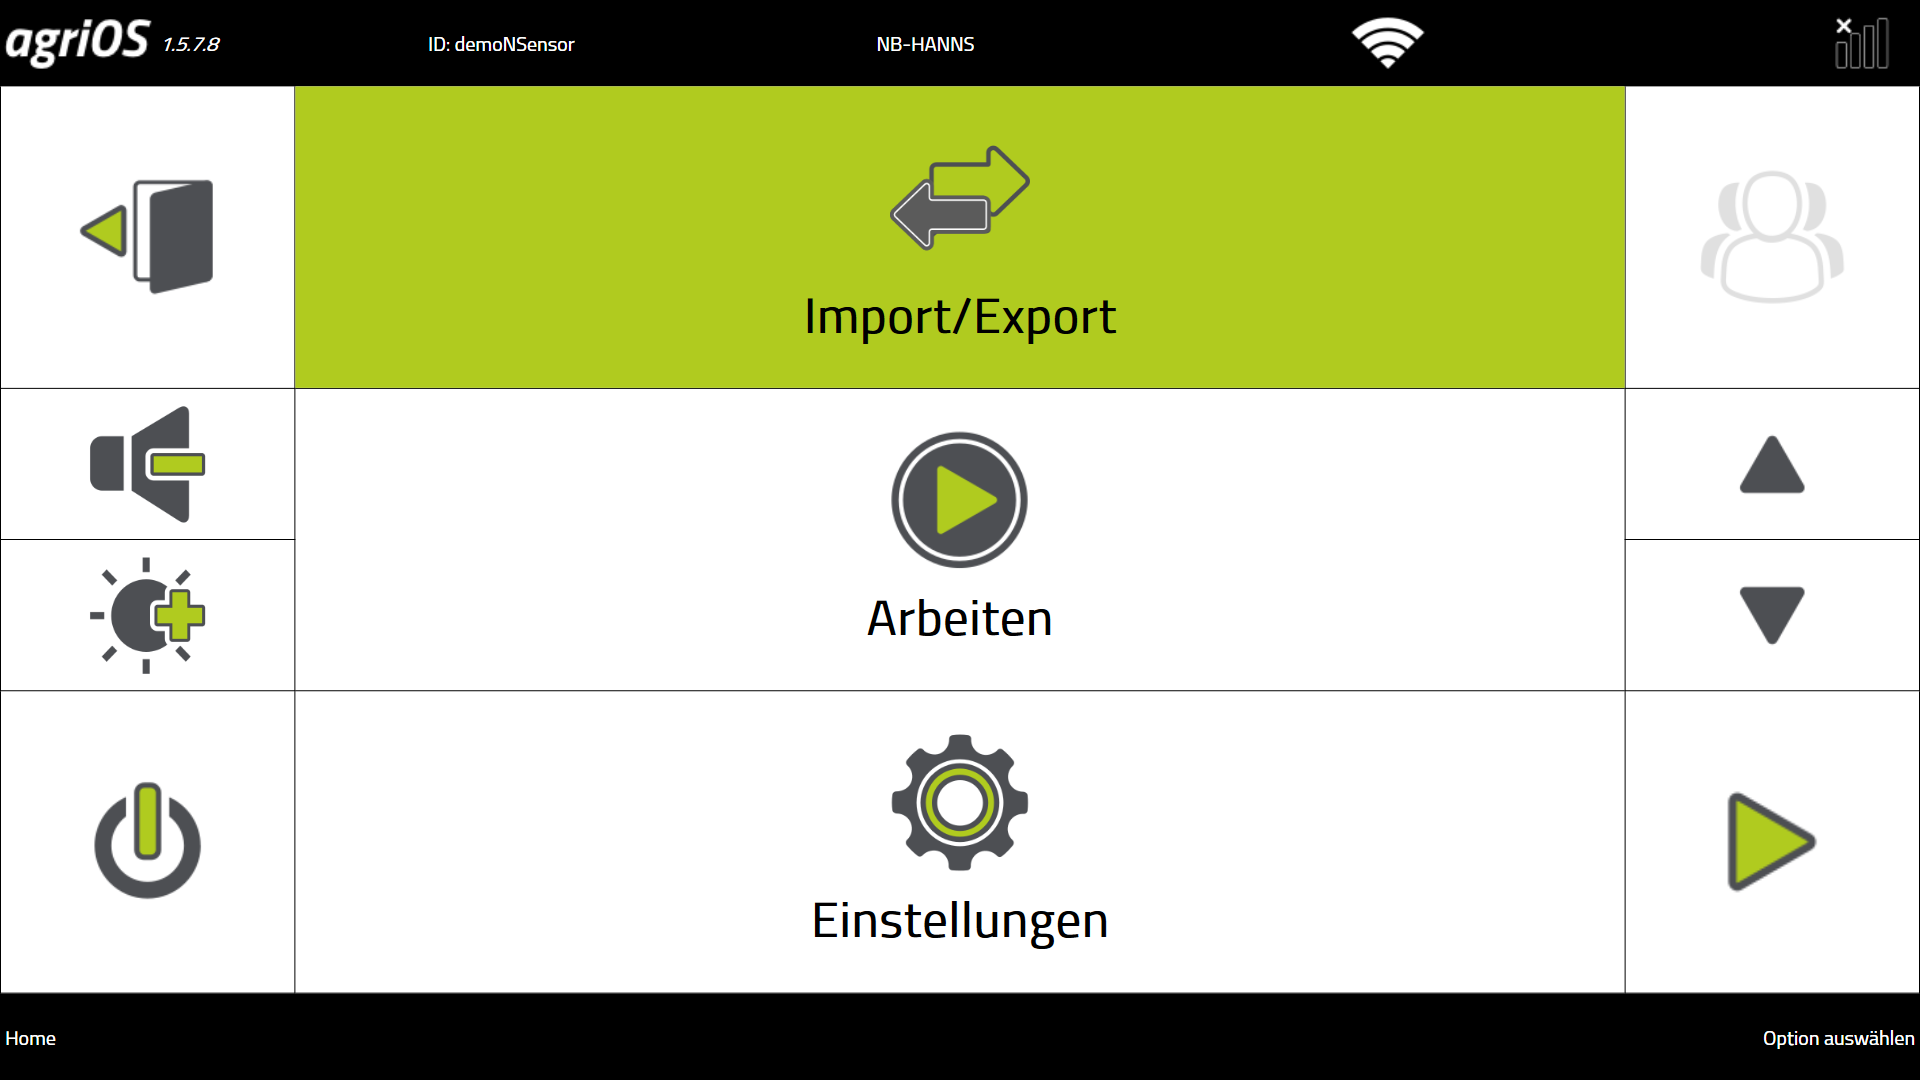
3. Importieren Sie die Auftragsliste auf dem Terminal in agriOS über "Import/Export".
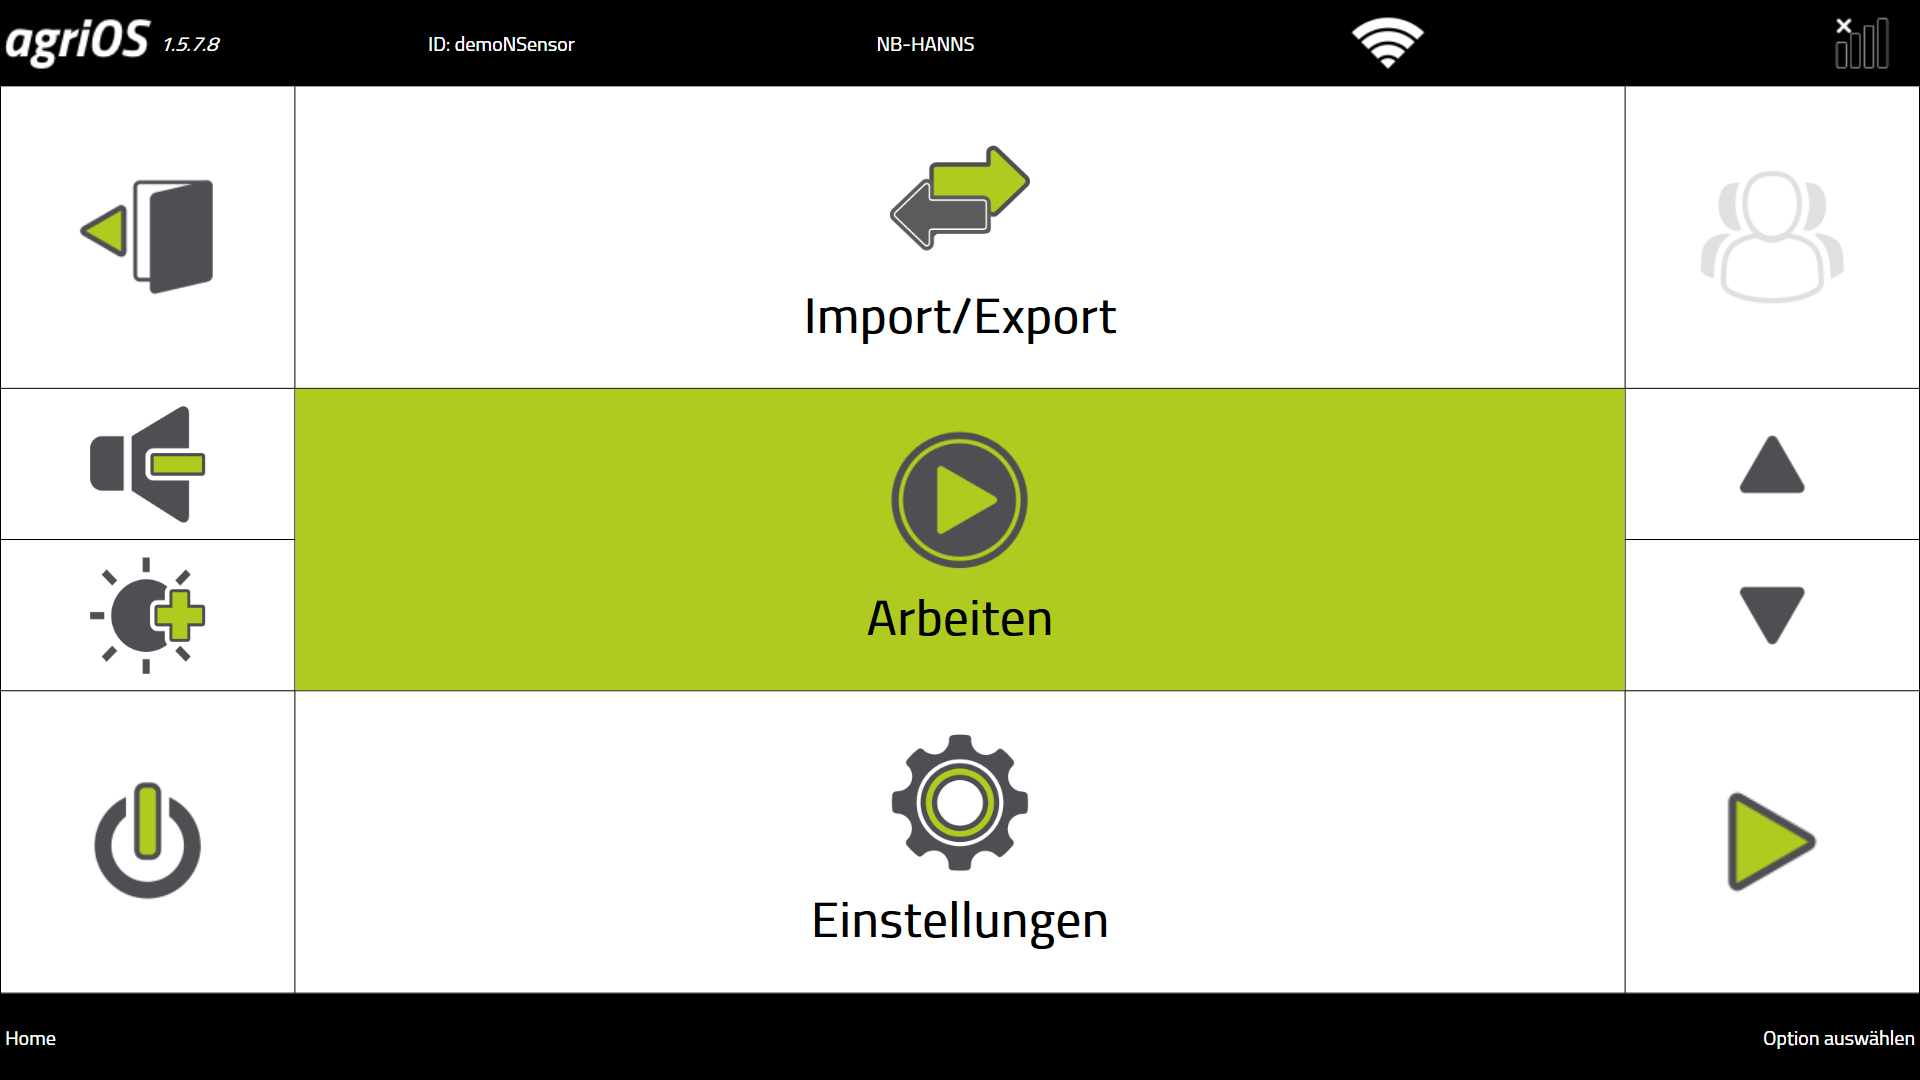
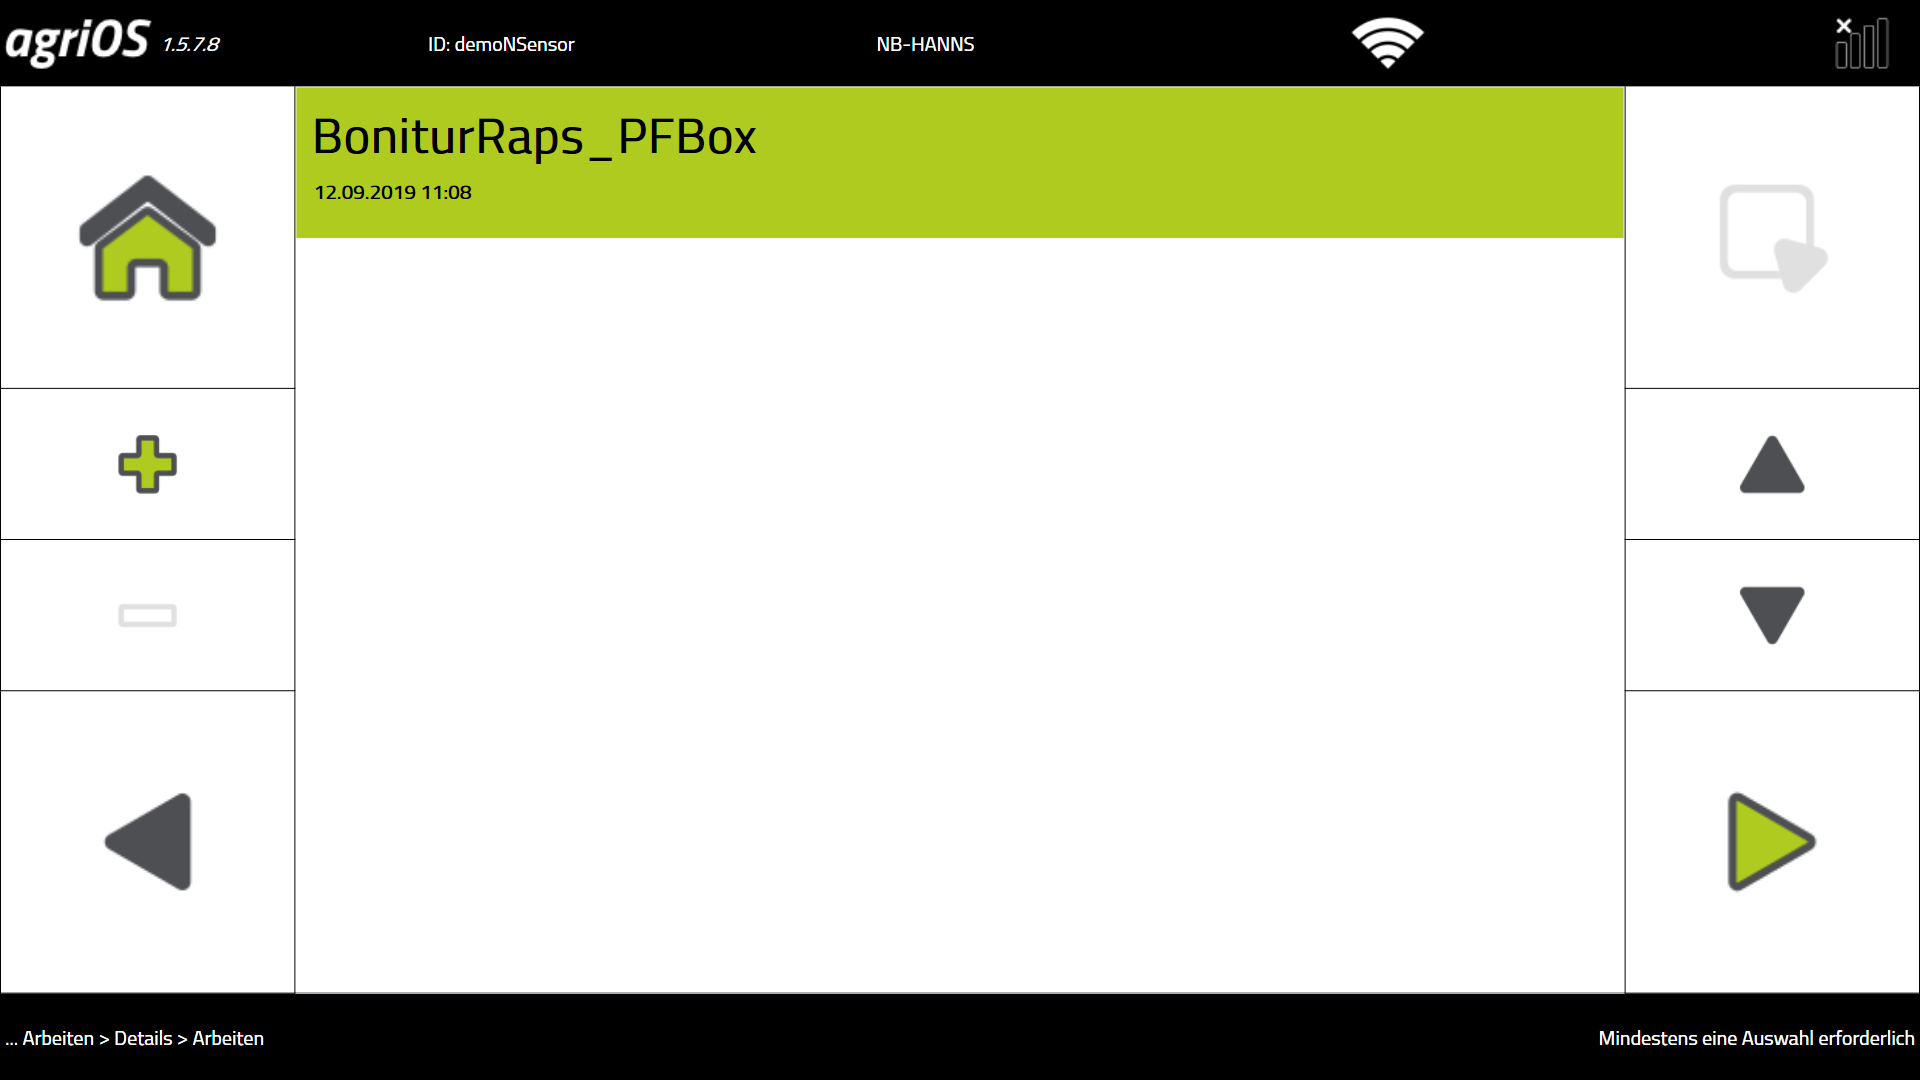
4. Starten Sie die PF Box über "Arbeiten".
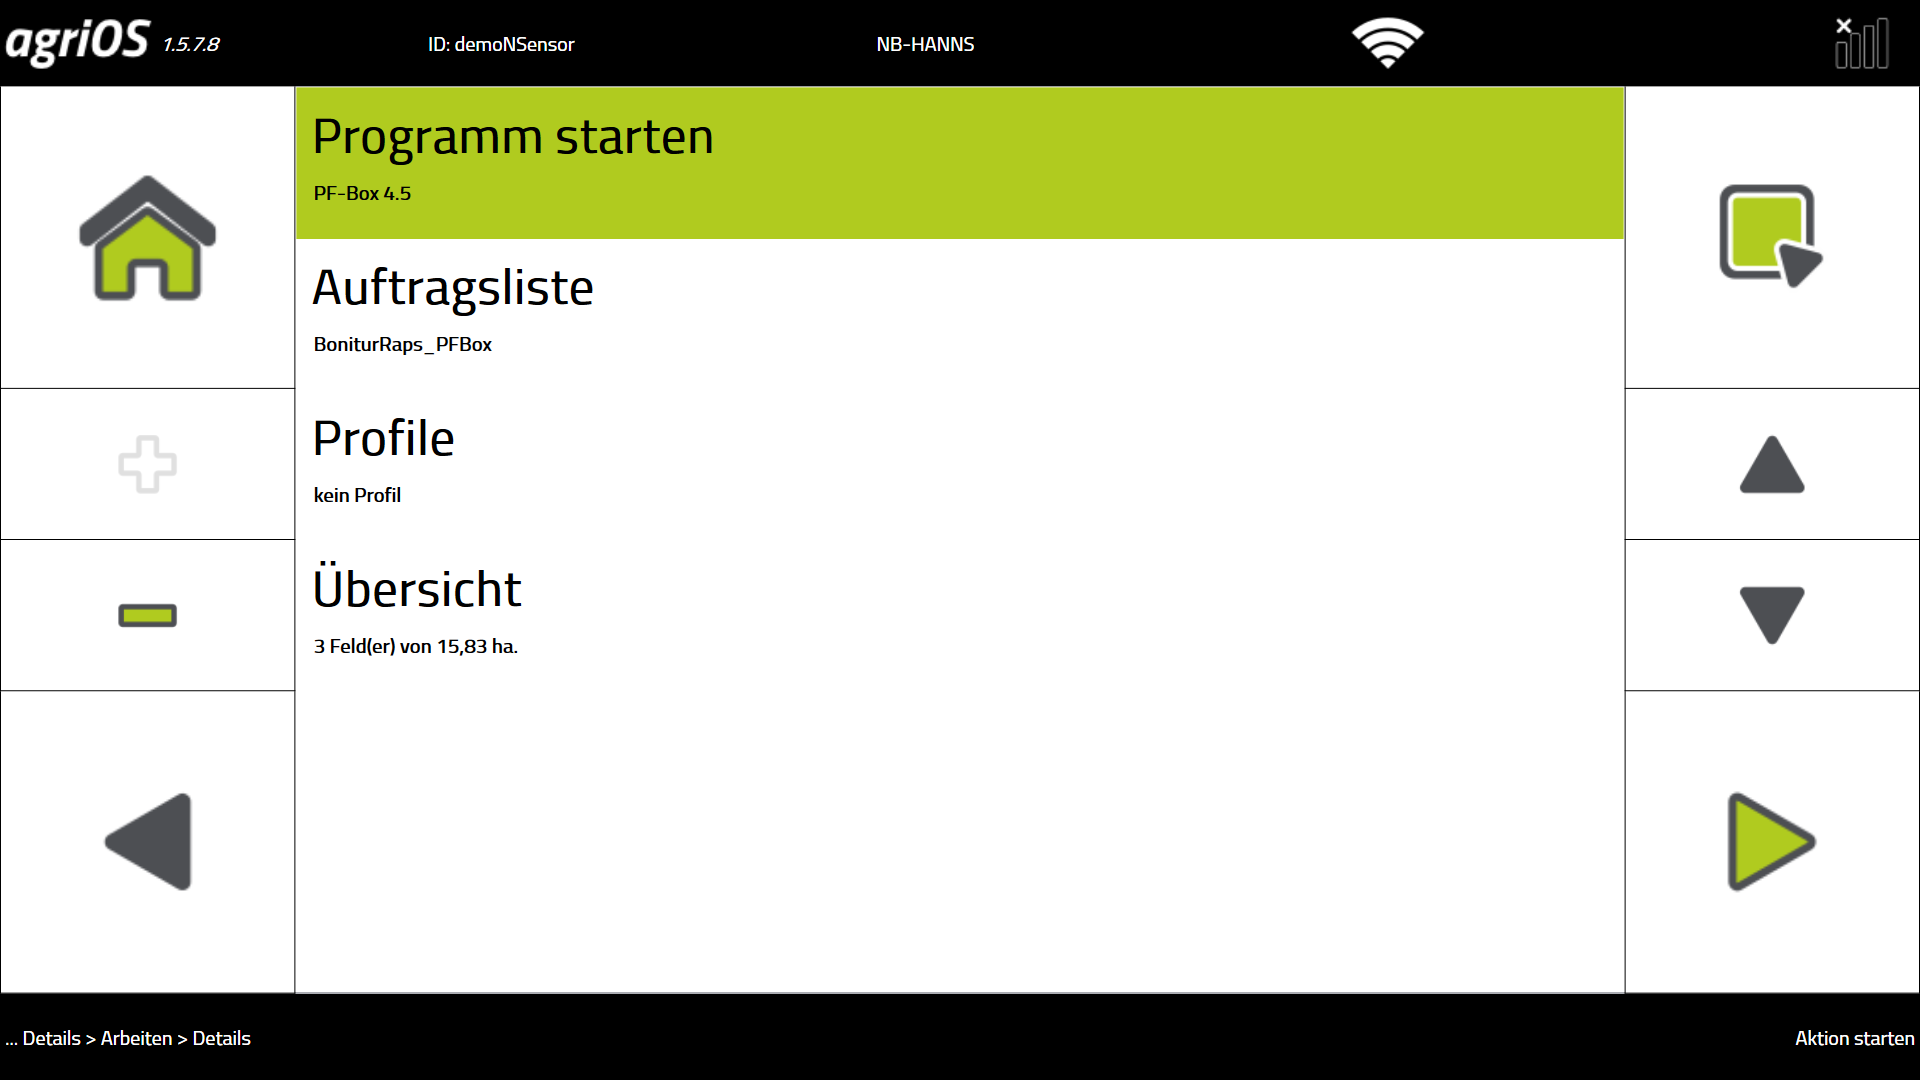
Bitte beachten Sie: Die Planung von Aufträgen ist nur für die PF Box-Version 4.5 und höher möglich. Ältere Versionen werden nicht mehr unterstützt. Wir empfehlen Ihnen, die Aufträge auf dem Terminal anzulegen.
Der Import von erzeugten Logdateien aus älteren PF Box-Versionen in agriPORT ist dagegen weiterhin möglich.
-
In agriPORT's "Order Management", create a list of the fields you want.
-
Export the list by email or USB stick.
3. Start the PF Box via "Work".
4. Import the job list on the terminal in agriOS via "Import / Export".
Please note the differences regarding the transfer of order-specific data between the different software versions of the PF-Box!
PF-Box 3: If the "job-specific calibration" is activated in the settings, the software module stored in the job list (note, rating in the PF-Box 3 is not available, therefore always select N fertilization in agriPORT) and the data of the agronomic calibration in the job accepted.
PF-Box 4: The orders stored in the order list are displayed. There is NONE transfer of data from the agronomic calibration. The entry MUST take place on the terminal.
PF-Box 4.5: the software automatically starts the software module stored in the order list and takes over the data of the agronomic calibration in the order.
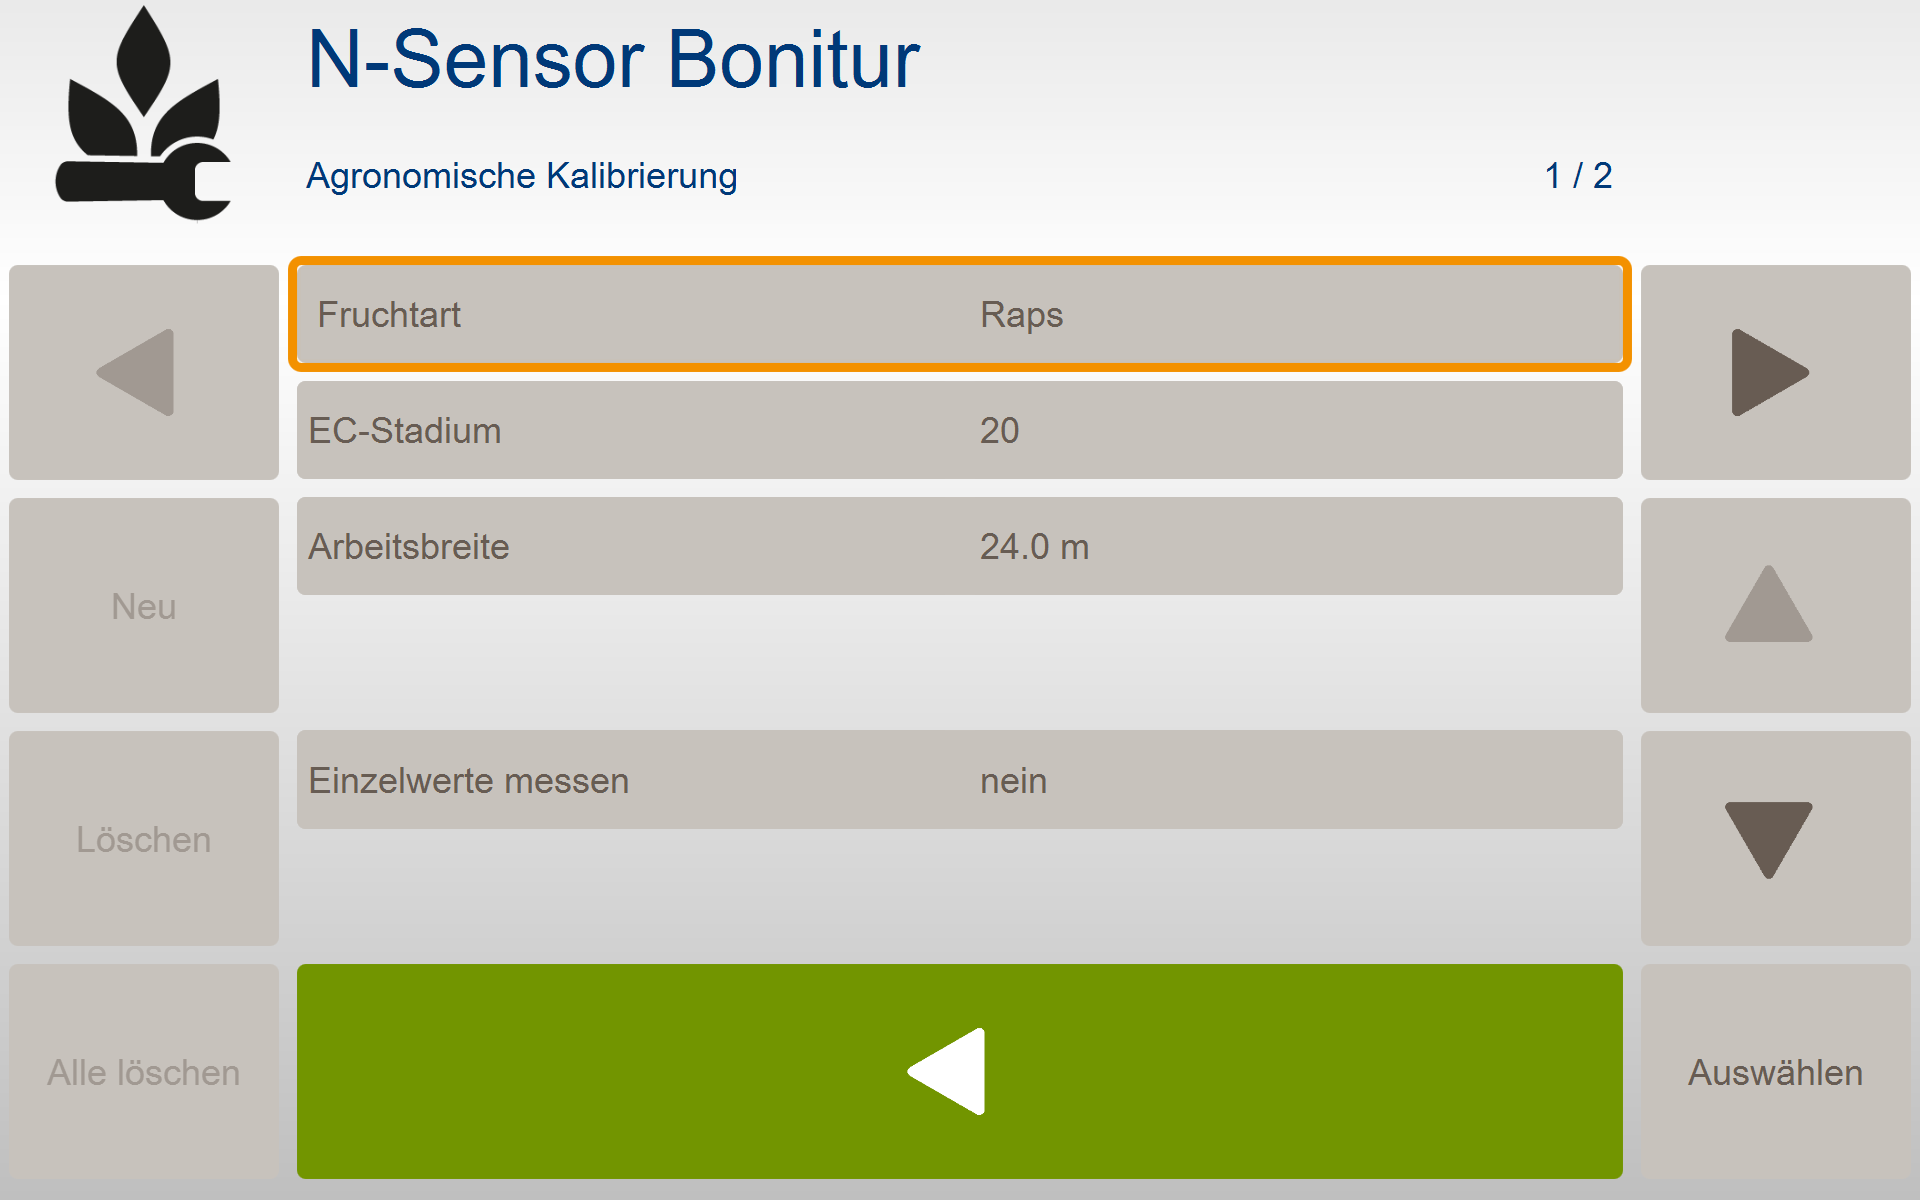
Bei Eingabe der Agronomischen Kalibrierung auf dem Bedienterminal führen Sie bitte für jeden Auftrag die folgenden Schritte durch:
N-Sensor Bonitur (SW 4.5)
-
Vorgabe von Fruchtart und EC-Stadium
-
EC max: 25
N-Düngung (SW 3.xx)
-
Vorgabe von Fruchtart und EC-Stadium
-
EC max: 25
-
keine weiteren Einstellungen in der Agronomischen Kalibrierung nötig
-
wichtiger Hinweis: stellen Sie zum Scannen den Streuercontroller auf "Display": Menü Einstellung - Menü System- Menü Ausbringgerät - Controller Typ Display

When entering the agronomic calibration on the operator terminal, please carry out the following steps for each order:
N-Sensor Scanning (SW 4.5)
-
Specification of fruit type and EC stage
-
EC max: 25
N-Application (SW 3.xx)
-
Specification of fruit type and EC stage
-
EC max: 25
-
no further settings in agronomic calibration necessary
-
important Note: set the spreader controller to "Display" for scanning:menusettings - menuSystem- menuSpreading device - Controller Type Display